custom glam strip lashes by first class beauty co
custom eyelash case to add your name to first class beauty co
personalize your eyelash case add your name first class beauty co
how to measure strip lashes by first class beauty co
easy to apply glam strip lashes and winged eyeliner stamp by first class beauty co
glam-strip-lash-case-first-class-beauty-co.jpg

Chicago | Glam Strip Lashes

Regular price $22.49 Save $-22.49
/
Shipping calculated at checkout.

Only 5 items in stock!

Easy to Apply Glam Strip Lashes 

   Glam strip lashes to make a statement! Custom-sized lashes mean you can "glue and go" with no need for trimming with your personalized eyelash case; these handmade lashes are waiting for you. 

Made of 100% cruelty-free, premium synthetic fibers that resemble mink hair are soft, natural, and lightweight. Separated, multi-length lash hairs truly make a statement and stand out—all while being the easiest strip lash to apply. 

These glam strip lashes are perfect for any special occasion, night out, parties, weddings, or photoshoots paired with an evening dress or a fashionable, spunky outfit. 

*Start From Step 4 if you opted for your lashes Custom-Sized (See the work we save you!)
  1. Cut any excess band off the strip lashes where there are no lashes.
  2. Hold the strip lash along your lash line to see whether you need to trim it to size. The strip lash should start where your natural eyelashes begin and end a few lashes from the outer corner to maximize comfort.
  3. Only cut the strip lash from the outside edge and from the band side to avoid cutting lashes you want to keep.
  4. Apply a thin layer of our lash glue to the strip lash band from corner to corner. Wait 5-10 seconds for the adhesive to become tacky.
  5. Look down and place the strip lash against your lash line in the center, outer edge and inner corner.
  6. Pinch your natural lashes and strip lashes together so they set well, and there is no skin between the strip lashes and your natural lashes. This can be done with tweezers or your fingertips.
  7. Gently push the lashes up at the inner lash line for an added lift.

Maximize the use of First Class Beauty Co's strip lashes with up to 25 wears following the proper care. Luckily, our lashes maintain their shape once wet, which allows for proper sanitization methods to keep your eyes safe and bacteria-free!

*Did You Know* Real Mink lashes CANNOT get wet; once mink hair gets wet, it immediately loses its shape. This means they can never be adequately cleaned and increases your risk of eye infections- just another reason to shop cruelty-free.

  1. Carefully remove any excess glue build-up on the strip lash band with tweezers.
  2. Clean the lashes with a makeup remover or 70% isopropyl alcohol using a spooly.
  3. Place the strip lashes back in their lash travel case and allow them to dry.
  4. Always store your strip lashes in First Class Beauty Co's lash travel case. It protects your lashes in your makeup bag without getting damaged.

* To make the strip lash cleaning process more manageable, avoid putting mascara directly on the strip lash and only apply mascara on your natural lashes before application.

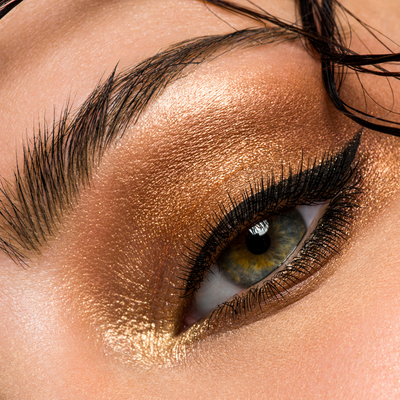
Remove the strip lash by gently lifting the band at the outer corner of the eye. Lift the band bit by bit to remove the remainder of the strip lash gently. Only pull on the band for removal, NOT the lashes, or this will damage the strip lashes.